Sweet Potato Fries

I love sweet potatoes. For me, sweet potatoes are like the candy of vegetables. I get lots of healthy fiber and vitamin A, and I can put cinnamon and maple syrup on it? Yes please!

So really, it’s no surprise that I love sweet potato fries. It’s a natural extension of my adoration for sweet-meets-salty, and I can pretend they’re healthy because they are, after all, a vegetable.

What is surprising is that I have never attempted to make them on my own. The only fries I’ve ever had at home came from a bag, so I was a little intimidated when I decided to take these on. But once those puppies were fresh out of the oven, I just sat there and munched away, straight from the pan! For anyone toying with the idea of making fries at home, go for it! They’re easy, amazingly delicious and much lower in fat since mine are baked and not fried. Even my sweet potato hating boyfriend (How I ask you, HOW do you hate sweet potatoes?) went back for seconds.

Ingredients: Makes about 3 servings depending on how much you love sweet potato

  • 3 medium sized sweet potatoes
  • 2 garlic cloves, minced
  • 1 Tbsp. olive oil
  • Salt and pepper
  • 1 Tbsp. chopped fresh parsley – substitute dried if you don’t have fresh on hand
1. Preheat the oven to 350° F. Peel and chop the sweet potatoes in long sticks, about 1/4 inch thick.
2. Lay the fries in a shallow baking dish in a single layer. Drizzle with the olive oil, season with salt and pepper and sprinkle the garlic and parsley over the top. Mix, making sure all the fries are coated and put in the oven.
3. Bake for approximately 17 minutes, then switch the oven to broil and cook a few minutes longer to get a nice crispy outside.
4. Pull out of the oven and serve up with your favorite burger!

Rustic Apple Tarts

These rustic apple tarts, or Apple Snaps, as some (inexplicably) refer to them, were born on one of those beautiful fall days where the sun is shining, the weather is crisp, and the leaves seem to glow with all their colors.

Combine that with one of the most amazing apple orchards I have ever been to, and how can you not create something so simple, but so delicious?

While visiting my boyfriend in La Crosse, WI, we decided to embark on an apple picking adventure. He had never been, and I have always been fascinated by picking my own food (It’s just SO fresh!). Thus, we started our 40 minute journey to Ecker’s Apple Farm. Everyone should go to this apple orchard. I mean it, if you’re looking for a place to pick apples, this is where you should go. It’s run by the most adorable family you could ask for, they have a John Deere tractor to take you on a tour of the orchard with stops along the way where you are welcome to get off, pick an apple and eat it to make sure it’s just as tasty as it looks before you commit to picking and buying anything. Fabulous!

If the lure of a tractor train ride isn’t enough for you, they also make the best caramel I have ever tasted, which just happens to be delicious drizzled on the apple pie a la mode you can purchase by the slice, or by the entire pie, in the main barn. Trust me on this one, just go there, you cannot be disappointed!

So, as my boyfriend and I set off on our apple picking adventure, I knew I had to do something delicious with these apples.

You can’t spend all afternoon picking apples….or “apple hunting” in my boyfriend’s case….to not bake something delicious with them as soon as you get home.

So, with bag of apples and tub of caramel in hand, we set off down the road with dreams of these incredibly simple, incredibly delicious rustic apple tarts.

Ingredients:

  • 4-5 medium apples, peeled, cored and chopped into quarter-sized pieces
  • 1/2 cup of sugar, plus a little extra for sanding
  • 2 tsp. cinnamon
  • 1 Tbsp. butter, melted
  • Two 9 inch pie crusts, store bought or your favorite recipe. (I used store bought)
  • Caramel for drizzling
1. Preheat your oven to 350° F. Line a baking sheet with parchment paper, then peel and chop your apples.
2. Add the sugar and cinnamon and stir to combine.
3. Roll your pie crusts out on to a pan. Cut them in half and add the apple mixture to the center of each half, leaving an inch or so of crust around the outside.
4. Fold over the edges of the crust any way you’d like (this is the rustic part!), then melt your butter and lightly brush over the edges. Sprinkle the buttered crust with a little extra sugar to get a nice crunch.
5. Bake in the oven for 20-30 minutes, depending on the size of your tarts and the instructions on the package if you’re using store bought crust, or until the crust becomes golden brown.
6. Drizzle with caramel and enjoy!

Pumpkin Pie Dip with Ginger Snaps

It wouldn’t be Halloween week if I didn’t have a recipe featuring pumpkin! This dip is perfect for a last-minute party invite. It’s super fast, easy to make and tastes like the inside of a pumpkin pie. I was inspire to make this after tasting the pumpkin pie dip brought in by one of the lovely ladies in our bellydance troupe. After one taste, I parked myself in front of it and swore to make a version of my own!

Ingredients:

  • Two 8 oz packages of cream cheese
  • One 15 oz can of pumpkin
  • 2 cups powdered sugar
  • 1/2 cup heavy cream
  • 1 Tbsp. pumpkin pie spice
  • 1 tsp. cinnamon
  • Ginger Snaps
  • Pie crust (optional)
1. Beat the heavy whipping cream with an electric mixer with a whisk attachment. Once the cream begins to form stiff peaks, remove it from the bowl and set aside.
2. Cream together the cream cheese and pumpkin. Add the spices and mix to combine.
3. Fold in the whipped cream.
4. Serve with ginger snaps, or cut pre-made pie crust into strips and bake for a more pie-like feel!

Eyeball Truffles

I’m going to apologize in advance to you, my lovely readers. Half of the pictures that were supposed to be in this post were sadly lost in the great iPhone plunge of 2011. Sadly, all the gooey chocolately pictures were lost in the rescue attempt…but I would like to attribute the rest of the pictures in this post to a wonderful man named Dan at the Apple store who took pity on me and replaced my phone for free after that darn poltergeist I dropped it and shattered the screen.

This one’s for you Dan.

These treats are both tasty and disgusting, depending on how meticulously you choose to decorate them. If you can swallow (ha!) eating an eyeball, then you’ll be rewarded with the chocolatey goodness inside!

They were also tricker to make than I expected them to be. I’d never tried to coat my truffles with solid chocolate before, just cocoa powder, and before I figured out the trick of freezing them, I learned that dipping slightly refrigerated truffles in melted chocolate will only give you a giant mess. Oops. But a tasty oops none the less since I had to eat the evidence of my failure to maintain my baller rep.

Ingredients:

  • 8 oz 72% dark or semi-sweet chocolate chips, plus a few extra for melting later
  • 1/2 cup of heavy cream
  • 1 stick of butter
  • 16 oz white chocolate chips
  • M&Ms
  • Black frosting
  • Red frosting
1. Melt the cream and chocolate chips together in a pan, stirring constantly. Remove the pan from heat and stir in the butter until melted.
2. Refrigerate for 2 hours, or until firm. Use a small ice-cream scoop, or melon baller, to scoop out uniform drops, give them a quick roll to make them nice and round, and place them on a cookie sheet lined with wax paper. (The wax paper is very important to prevent sticking later on.)
3. Insert toothpicks into the top of each truffle, and freeze over night. And when I say over night, I mean it, otherwise gooey-ness will take over.
4. Once the little darlings are frozen, melt half of your white chocolate in a bowl set atop of a pan of simmering water. This is a make-shift double boiler and will prevent you from burning the chocolate. It’s also great to have hot water on hand to help you reheat the chocolate if you need to.
5. Once the chocolate is melted, pull out your frozen truffles and, working as quickly as possible, dip them completely in the melted chocolate. Set them back on the wax paper to harden.
6. As you can see, they do not look very much like eyeballs just yet, which is when I discovered step 6 was necessary. After the first coat has hardened completely (after about an hour in the fridge), repeat the chocolate melting process above with the second half of your chocolate and dip them all again! Set them on the wax paper to dry.
7. After round 2 has hardened, give the toothpicks a little twirl to loosen them, and pull them out of your truffles. Melt a little chocolate and use that to glue the M&Ms over the hole on top of your soon-to-be eyeballs.
8. Add a drop of black frosting on top of each M&M for the pupil, and use the red frosting to pipe on veins. Then put on your witch’s hat and cackle with glee as you serve these to your friends!

Vampire Cupcakes

I don’t care if you’re Team Edward or Team Stefan, these cupcakes will bring out the inner, perfectly coiffed blood-sucker in everyone!

I used red velvet cakemix and home-made cream chesse frosting to make this quick and easy cupcakes, perfect for last-minute party invites!

Ingredients:

  • 1 box of your favorite red velvet cake mix
  • Two 8oz packages of cream cheese
  • 1 stick of butter
  • 2 cups of powdered sugar
  • 1 tsp. vanilla
  • Cherry pie filling (or Raspberry, Strawberry, you get the idea)
Cupcakes:
1. Mix your favorite red velvet cake mix according to the instructions on the box. I have to say, after making these from a box, I am super excited to try a recipe from scratch! I was fascinated that what started out sort of brownish….
Would suddenly become BLOOOOOOD RED!
Note the dramatic dripping effect, much like blood spatter on CSI. Very Halloween-y.

2. Once you’ve mixed your batter, pour it into a cupcake pan lined with paper liners. (Tip! Pouring the batter into a gallon-sized plastic bag and cutting off a corner makes for easy cupcake pan filling! You might need a friend to help you though…it can get disastrous messy trying to pour and hold a bag open at the same time.)
3. Bake for the allotted amount of time according to your box and you’ll have lovely, deep red cupcakes like these!
Cream Cheese Frosting:
1. While your creations cool to room temperature, cream the butter and cream cheese together with an electric mixer. Add the vanilla and slowly add the powdered sugar, one cup at a time, and beat on low speed to avoid inhaling any.
Like I did.
Lessons learned.
2. Scoop your frosting into a plastic bag, snip off a corner and use that to pipe your frosting on in cute little swirls. Our poor cupcakes are unaware that they’re soon to be…..
3. BITTEN! Use the plastic bag trick above to pipe on tiny lines of your cherry, or other red fruit, pie filling to make the blood trickling from the bite marks of those darn attractive vampires.

Monster Cookies!

It’s almost Halloween, and I couldn’t be more excited! I’ve got an amazing costume planned (sorry, no spoilers here!), a surprisingly booked Halloween weekend, and plenty of Halloween treats to consume!

I love Halloween. Despite the fact I am easily terrified by scary movies and nearly died via axe murderer in a haunted corn maze, I love love LOVE all the creepy yet adorable themed candies, cookies, cupcakes and more, right down to their orange and black wrappers.

So, to celebrate the occassion, I’ve got a lovely Halloween series for you all! In the days leading up to Halloween, you can expect lots of treats (and a few culinary tricks) coming your way! Yesterday, Sweet potato cupcakes with maple buttercream, and today….Monster Cookies!

This is my own spin on monster cookies. I know they typically have peanut butter, and all the candy but the kitchen sink sort of feel, but I wanted to try something a little different. They still have peanuts, but in the form of………..Snickers!

Yep, that’s right, Snickers. These cookies are oatmeal, snickers, M&M, amazing morsels of deliciousness. These are perfect to bring to a casual Halloween party at work, if your coworkers are awesome enough to do that sort of thing, or to a family get-together or kid’s party.

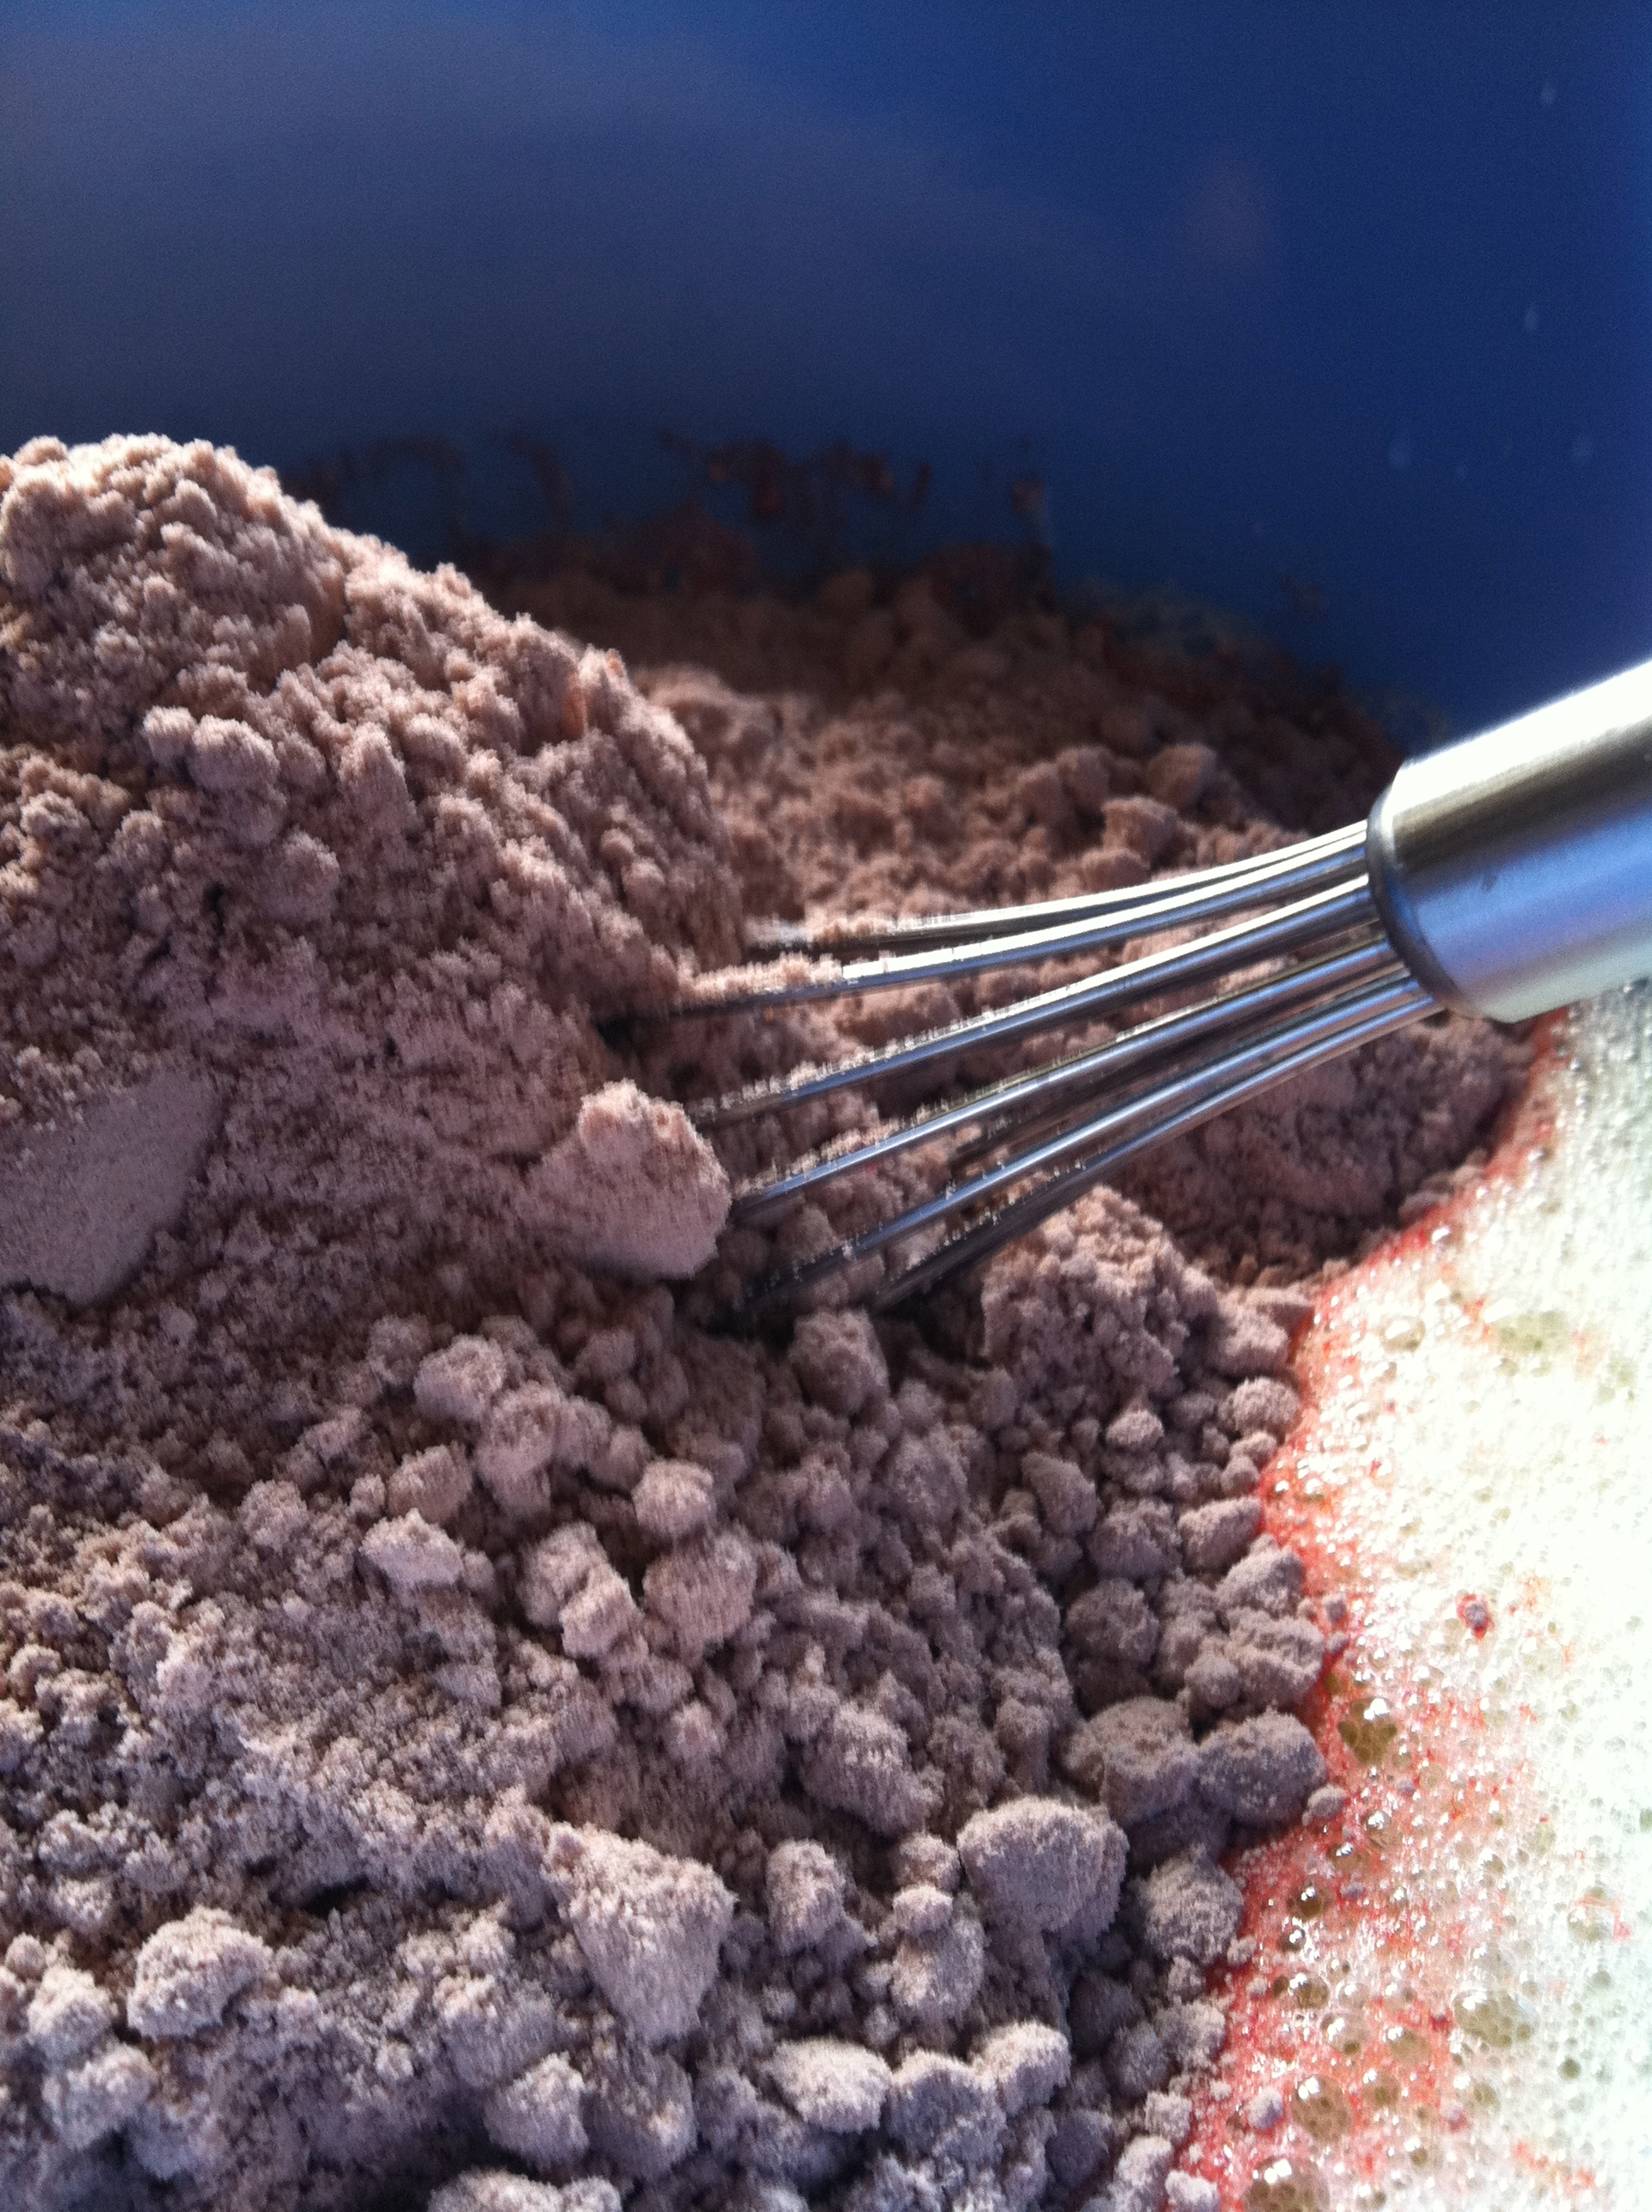
Ingredients: (This recipe makes a LOT of cookies!)

  • Approximately 2 cups of Snickers, chopped and frozen
  • 16 oz. of M&Ms
  • 1 cup (2 sticks) unsalted butter, at room temperature
  • 3 1/2 cups all-purpose flour
  • 1 Tbsp. baking powder
  • 1 1/2 tsp. baking soda
  • 3 cups old-fashioned rolled oats
  • 2 1/4 cups firmly packed light brown sugar
  • 2 large eggs
  • 1 tsp. pure vanilla extract
1. Preheat the oven to 350° F. Prepare two baking sheets.
2. Chop your Snickers, line a baking tray with wax paper and spread out the Snickers. Pop it in the freezer for about an hour. Freezing the candy first will help it keep it’s shape and prevent gooey messes while baking!
3. In a large bowl, sift together the flour, baking powder and baking soda.
4. In another bowl, using an electric mixer set on medium(ish) speed, cream together the butter and brown sugar until smooth. (Tip! If your butter is fresh out of the fridge and not room temperature, place it in the microwave and heat it for 5 seconds, then rotate 90 degrees and repeat until you’ve heated all 4 sides.)
5. Add the eggs and the vanilla to the butter and sugar and mix to combine, reduce the speed to low and add the flour in batches.
6. Pour in the oats, one cup at a time and mix to combine. Add in the candy and mix on low speed, or fold in by hand to prevent crushing the candy.
7. Scoop out golf-ball-sized bits of dough, and place them on the cookie sheets about 3 inches apart. Bake in the oven for 10-12 minutes, or until the edges are just turning golden brown. Take them out of the oven, and let them sit for 2-3 minutes before moving them to a cooling rack.
8. Pour a big glass of milk and toast Halloween!

Sweet Potato Cupcakes with Maple Buttercream

Welcome to Day 1 of my Halloween series! All week, I’ll be posting tasty treats, perfect for your Halloween party needs! No costume required, just sit back, relax and let the treats come to you.

These are the perfect treat to bring to bring to your boss’s Halloween potluck party. Their tiny size makes them easy to fit on plates already piled with food and lessens the guilt of eating three in a row, you can make tons of mini cupcakes with a regular amount of batter, and with a simple garnish they lend a sophistication that says “Why yes, Mr. Robinson, I can get you that report you’re demanding in 20 minutes while still maintaining my perfectly calm outward appearance, and please remember these delicious cupcakes when you consider my raise.

I had never made mini cupcakes before, but I do own a mini cupcake pan; the result of my wild fantasies about seas of adorably frosted mini cupcakes while at a Pampered Chef party. It had been sitting in the back of my cupboard for quite some time, so I figured it was time for a test run!

And oh boy, am I ever glad I have that mini cupcake pan now! Mini cupcakes are almost easier to make than their big sisters. They have a shorter baking time, you can fit 24 of these little babies in a pan and your frosting time is cut in half! I would seriously recommend investing in a mini cupcake pan, if for no other reason than they put a fresh twist on a potluck staple.

Sweet Potato Cupcakes:

  • 1 1/4 cups all-purpose flour
  • 1/2 teaspoon cinnamon
  • 1/4 teaspoon allspice
  • 1 teaspoon baking powder
  • 1/4 teaspoon baking soda
  • 1/4 teaspoon salt
  • 3/4 cup sugar
  • 6 tablespoons butter, at room temperature
  • 6 ounces (or one small) sweet potato, cooked and mashed
  • 1/3 cup buttermilk
  • 1 egg
  • 2 teaspoons vanilla

Cream Cheese Frosting:

  • 2 sticks of butter (1 cup), room temperature
  • 2 cups of powdered sugar
  • 1 tsp. vanilla
  • 3 tbsp. dark maple syrup
  • 1/2 cup crushed pecans for garnish (optional)
For the cupcakes:
  1. Pre-heat the oven to 350 degrees.
  2. Mix the first six ingredients together in a bowl and set aside.
    3. Cream the butter in an electric mixer and slowly add the sugar until fully combined.
    4. Add the buttermilk, egg, sweet potato and vanilla to the butter mixture and beat until           combined. Be careful not to over mix!
    5. Add the flour mixture in batches and mix until there are no lumps in the batter, but               again, be careful not to over mix. You’ll get adorable little cupcake shaped rocks                 instead of adorable little cupcakes.
    6. Once the batter is mixed, line your mini cupcake pan with mini cupcake liners and                use a small ice-cream scoop to fill each cup 2/3 full.
    7. Bake in the oven for 11 minutes, or until a toothpick inserted into the center of the               cupcakes comes out clean.
    8. Take out your cakes and let them cool to room temperature before frosting. While               you’re waiting is the perfect time to make that frosting!
For the Frosting:
  1. Cream the butter in a bowl with an electric mixer. Use the whisk attachment if you have one.
  2. Add the vanilla and beat to combine.
  3. Slowly add the sugar. Note: I usually use a rough ratio of 1:1 for my butter and powdered sugar (1 stick to 1 cup). Feel free to adjust for your desired level of stiffness and sweetness.
  4. Add the maple syrup a tablespoon at a time, beating throughly after each addition. Feel free to sample the batch after each tablespoon until you get the desired strength of mapley-ness!
  5. Secret Tip: Spoon the frosting into a zip lock bag. Squeeze the air out, seal the bag, snip off one corner and use that as a piping bag to get perfectly swirled frosting on your cupcakes.
  6. Crush some pecans and sprinkle them over your frosted cupcakes. This is totally optional, but it does look pretty and adds a nice salty note to counteract the sweetness of the frosting.
  7. Watch your little creations disappear!

Mpls St. Paul Magazine’s Taste! Event Review

This post should have happened a few weeks ago. I’m delayed in my review by all the gorgeous warm weather we’ve been having lately, not to mention fall baking!

Basics: Minneapolis/St. Paul Magazine’s Taste! event. September 30th and October 1st at the TCF Bank stadium in Minneapolis. Features food samplings from local restaurants and more wine sampling that you can even hope to try.

So, Taste! I love this event. I first went last year and was completely hooked by the all you can drink wine and all you can eat food. Lessons learned: grab a bottle of water right away, because when you’re 50 samples in and they run out of bottles of water, there are a lot of staggeringly tipsy people to dodge trying to chase the waiter with the water pitcher.

This year was a little different. Downside: It was 2 hours shorter (my guess is to avoid the drunken debauchery that comes after a 5 hour wine tasting). Upside: they had a food truck court with voting for a people’s choice award.

A note about food trucks: I adore them. I adored them without ever having tried them because they are street food mixed with culinary creative genius. This year’s Taste! was my first experience with food trucks and I was not disappointed.

My personal favorites? Gastrotruck, Turkey To Go and Cupcake On The Go.

Gastrotruck because of their perfectly cooked beef and amazing polenta cake. The beef melts in your mouth and it wonderfully tangy and rich. The polenta cake was a new experience for me, I’d never had polenta but always wanted to try it, and it was yummy cheesy goodness. I’m not even sure if there is cheese in polenta, but it was delicious.

Turkey To Go. I adore Turkey To Go. Not only do they have the best turkey sandwich I’ve ever eaten, but they have the friendliest chef I have ever met who, while he did refuse to tell me his secret to moist and juicy turkey, made me the above sandwich even through it wasn’t on the menu. Turkey, brie and cranberry. Delicious. Thank you Turkey To Go man!

Sadly (or not), I had my hands full with a wine glass and a cupcake, so I didn’t get a picture of Cupcakes To Go, but their red velvet had the tangiest (yum!) cream cheese frosting I’ve tasted on their red velvet cupcake, and an amazingly fluffy chocolate frosting on their chocolate cupcake.

Tummies full with food truck samples, it was time to move on to the wine! Ok fine….time to go back to the wine again, let’s be honest, we didn’t make it through all the food trucks before bottles were popped.

Somehow we inadvertently found ourselves in the VIP area despite our lack of VIP badges, and took a lovely champagne flight that ended in Cristal. Yes, I was sipping $200+ champagne. So cool.

From there we moved into the main tasting area on an upper floor of the stadium. Thankfully the lovely people running the event give you books with numbered pages corresponding to the signage next to each wine maker and list all the wines with a scale of 1-10 and space for notes so you can remember what the heck that one wine we had was called when you go to the store.

The real stand out for me was ChocoVine. I tried some great wines, but once I hit the chocolate wine, I was there to stay. It’s very similar to Bailey’s in texture and drinkability,  but it tastes like chocolate. Genius.

And there you have it! This year’s Taste! event come and gone, and I am certainly looking forward to next year’s. Maybe we can get a Capers contingent together and finally manage to try every single wine between the group?

Easy Bean Tacos

Too long since my last post! I’m sorry everyone, but I promise the things to come will be worth the wait because…I’ve been working on a Halloween series!

I love Halloween. It’s in my top three favorite holidays list, fighting with Thanksgiving for second place. Ever since the first time I went trick-o-treating and I realized that wearing a silly pumpkin outfit, while being carried by my dad through the blowing snow, meant the funny little bag I was holding would be filled with candy by the end of the night; I was hooked. I love everything about Halloween, from the creepy/corny decorations to the reruns of 90’s horror movies, and of course, the treats!

So this year, to celebrate my 3rd 2nd favorite holiday, I decided to create a halloween treat list to suit all your celebratory needs! So far this post may seem a bit misleading, after all, I’m supposed to be showing you an easy bean taco recipe, but I just wanted to take a moment to invite all of you to become a part of the series! Send me your favorite Halloween recipes, I’ll give them a try, and one of your favorites could end up featured on The Culinary Capers!

Now to the fiesta!

Easy Bean Tacos

Ingredients:

  • 1 tsp cumin
  • 1 tsp chili powder
  • 1 garlic clove
  • a pinch of paprika (I used a Spanish smoked paprika here)
  • 1 can of kidney beans
  • 1 can of black beans
  • 1/2 cup of water
  • your favorite taco fixings!
1. Crush the garlic and add it to a frying pan over medium heat. Stir for 30 seconds, then add the spices. Stir for another 30 seconds.
2. Rinse and strain both cans of beans. Add them to the spice mixture, along with the water, and stir to combine. Cook until the beans become soft and break easily, about 10 minutes.
3. Scoop some beans into tortilla shells, hard or soft, and top with your favorites! I like corn tortillas with mango salsa, spinach, cheese and greek yogurt. I’ve found greek yogurt is a good substitute for sour cream; similar flavor and texture, but with lots of protein. You discover these types of things when you travel over seas and are at a loss for sour cream when you’re making tacos. Give it a try next time you run out!

Ratatouille!

Why did I decide to try making ratatouille? To be perfectly honest, I’ve wanted to try it (homemade or otherwise) since I saw the Disney/Pixar movie. I mean really, an adorably animated rat living in Paris who loves to cook? Totally up my alley. Especially when you add in the necessary feel good message that if you keep trying you can achieve your dreams.

I fall for that stuff every time.

In the movie (spoiler alert!) ratatouille is the dish our furry friend makes to melt the heart of the mean old food critic. It’s considered a risky move because it’s a simple peasant dish, and is that really what you want to serve the most highly regarded food critic ever?

I decided to make some myself and find out. And yes, it’s pretty darn good. I would definitely make this recipe again. This is a wonderful dish for anyone with a bumper crop of tomatoes hanging around. It also let me experiment with eggplant, something I had never cooked with before, which always makes for an exciting day in my kitchen!

Ratatouille – recipe modified from Food & Wine, Oct. 2011

Ingredients:

  • 1/2 cup extra-virgin olive oil
  • 1 pound eggplant, peeled and cut into 1-inch dice
  • 6 large garlic cloves
  • 1 large zucchini, cut into 1/2-inch dice
  • 1 large yellow squash, cut into 1/2-inch dice
  • 1 large yellow onion, cut into 1/2-inch dice
  • 1 red bell pepper, cut into 1/2-inch dice
  • 2 pounds of tomatoes, cored and finely chopped
  • 1 cup of loosely packed and shredded basil leaves
  • lemon zest of one lemon
  • lemon juice of 1/2 a lemon
  • 4 oz. crumbled feta cheese
Directions:
1. In a large casserole dish or Dutch oven (and I mean large, this nearly didn’t fit in the pan I used and I made a huge mess all over the stove top) heat 1/4 cup of the olive oil. Add the eggplant and cook over moderately high heat, stirring occasionally, until almost tender, about 5 minutes. Add 1/3 of the garlic and cook for another minute. Remove the eggplant from the dish and pour it into a bowl. *Note* this recipe is done in batches to speed up the cooking (and therefore eating). I promise eggplant tastes better than it looks.
2. While you’re cooking the eggplant: add 2 tablespoons olive oil to a second pan and let it heat up. Then add the zucchini and yellow squash and cook over medium heat until lightly browned in spots, or about 5 minutes. Add another 1/3 of garlic and cook for another minute. Remove the zucchini/squash mixture and add it to the bowl with the eggplant.
3. Add the remaining 2 tablespoons of olive oil to the original casserole dish and let it heat up. Add the onion and the red pepper and cook over medium heat until softened, about 7 minutes.. Add the remaining garlic and cook for another minute.
4. Add the tomatoes to the onion and pepper mixture along with 2/3 of your basil and the reserved vegetables you previously cooked. (Now you see why we needed the big dish!) Cook the whole mixture, stirring to combine throughly until the tomatoes have broken down and all the vegetables are tender. A fork should easily pierce your largest piece of eggplant. That will take about 15 minutes.
5. Stir in the remaining basil along with the lemon zest and juice. Remove from heat, spoon into bowls, sprinkle with feta cheese and dig in! This dish is great with a light Sauvignon Blanc. We enjoyed it with a bottle of Mohua, 2010.